How to Turn Twitch VODs Into Clips
A repeatable workflow for turning Twitch VODs into vertical clips without rewatching every full stream.
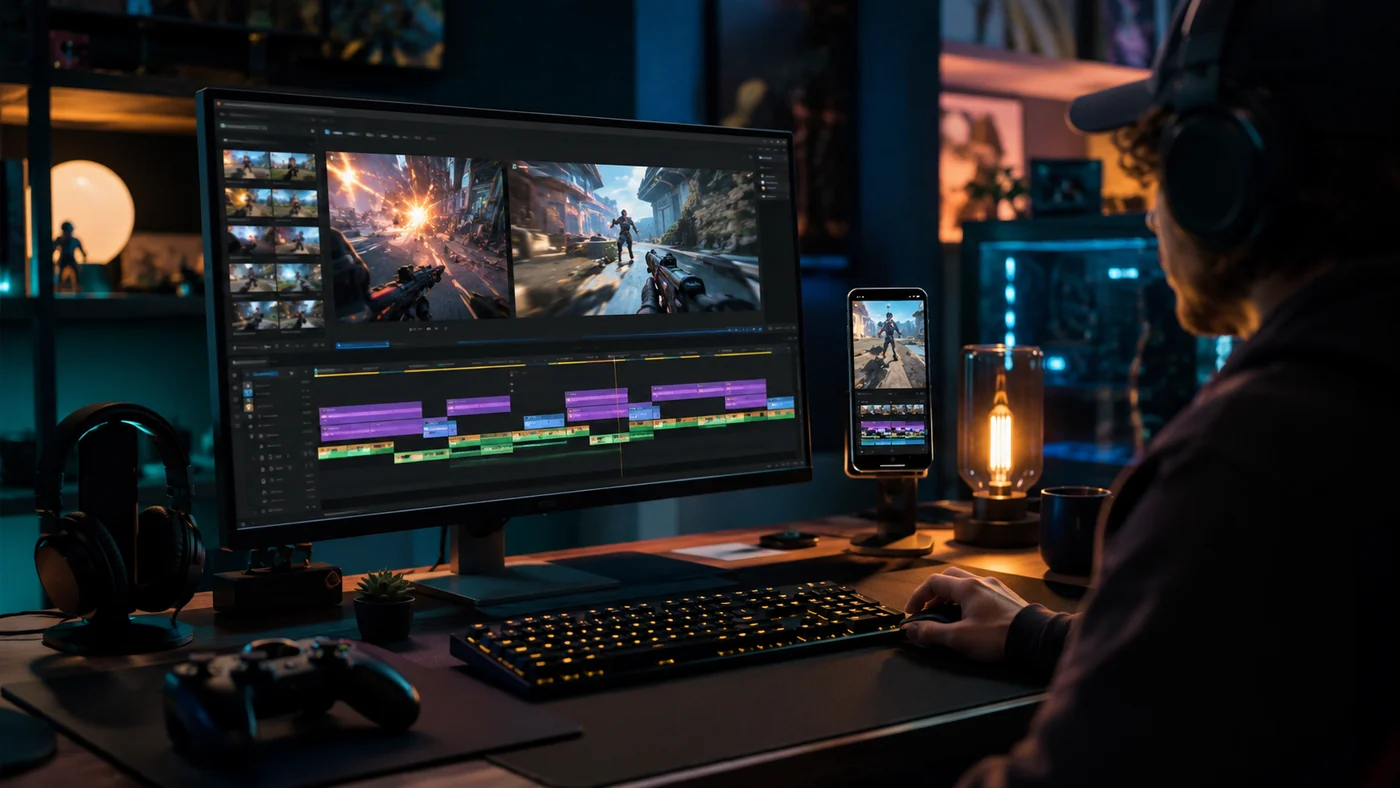
To turn Twitch VODs into clips, start by saving the broadcast. Then pull a shortlist from moments where something actually changes: chat spikes, round wins, deaths, jokes, raids, boss attempts, or scoreboard swings. Trim each one tightly, reframe it for vertical viewing, add captions only when they help, and export versions for TikTok, YouTube Shorts, Instagram Reels, or your Discord.
A good routine keeps the first pass fast. AI can scan the long VOD and suggest candidates, but you still decide what is worth posting. If you want to work from a shortlist instead of scrubbing for hours, use a Twitch clip maker to find likely moments, then review each one like an editor: clear setup, quick payoff, readable gameplay, and no dead air.
What You Need Before You Start
First, make sure the VOD exists. Twitch says past broadcasts must be enabled in VOD settings, and retention depends on account type. Affiliates and Partners get different storage windows. Video Producer is where you manage VODs, Highlights, Uploads, and copyright status. Check Twitch's Video on Demand help before you build a clipping routine around old broadcasts.
- A saved Twitch VOD, local recording, or exported stream file. Do not wait until the deletion date to start clipping.
- A target platform for each clip. TikTok, YouTube Shorts, Reels, Discord, and X all need different pacing and text placement.
- A simple log of stream moments. Use stream markers, chat notes, mod notes, OBS replay buffer timestamps, or Discord messages from viewers.
- A vertical editing workflow. Most discovery clips should be 9:16, with gameplay, camera, captions, and kill feed placed where mobile viewers can read them.
- A review checklist. AI can rank moments, but it cannot fully understand your community jokes, recurring bits, or whether a clip represents you well.
- A naming system. Save files with date, game, moment, and destination, such as 2026-07-09-valorant-1v3-clutch-shorts.mp4.
- Permission awareness. Avoid reposting copyrighted music segments, private voice chat, or teammate comms that should not leave the stream.
How to Turn Twitch VODs Into Clips After Every Stream
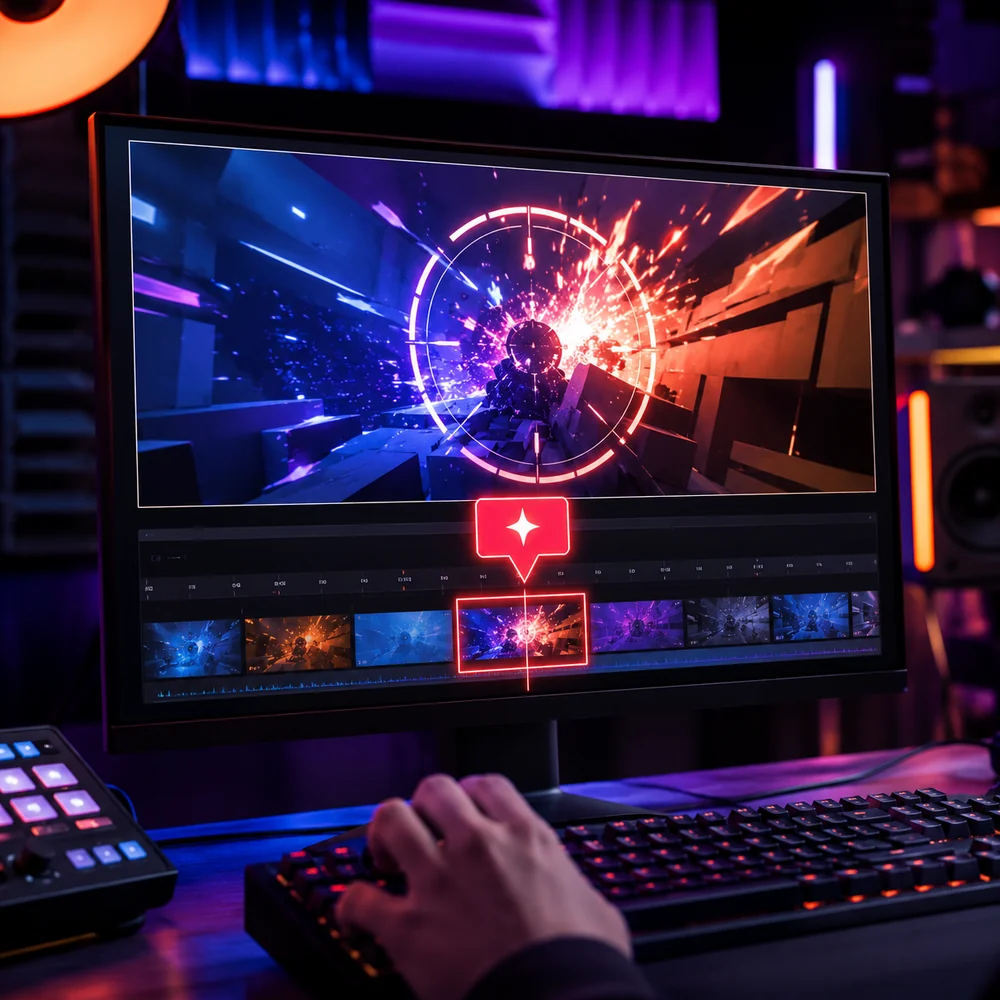
Use the same workflow after every broadcast. You are not trying to save every decent moment. You are trying to find the few clips that make sense to someone who did not watch the stream.
- 1. Open the VOD and scan the timeline first. Look for chat spikes, category changes, raids, long fights, boss attempts, overtime rounds, and sudden camera reactions.
- 2. Build a shortlist before editing. For a three-hour stream, aim for 10 to 20 candidate moments, not 60. A smaller batch keeps review honest.
- 3. Cut around the payoff. In Valorant, the clip might start before the retake call, not at the final headshot. In Fortnite, start before the panic build or rotate mistake.
- 4. Keep the setup short. New viewers need to understand the stakes within the first two seconds: match point, final circle, no ammo, one health, or teammate down.
- 5. Remove dead space. Cut menu screens, scoreboard pauses, loading, inventory sorting, and repeated explanations unless they make the joke work.
- 6. Reframe for vertical. Put the crosshair, opponent, kill feed, minimap, and facecam in places that remain readable under platform captions and buttons.
- 7. Add captions where audio carries the moment. Captions help with reactions, callouts, jokes, and explanations, but they should not cover the enemy, reticle, or UI.
- 8. Export, watch on your phone, then decide. If the clip feels slow on a phone screen with no backstory, tighten it or skip it.
Review Checklist for Publishable Twitch Clips
Twitch's own Clips workflow lets creators adjust clip length up to 60 seconds, according to Twitch's Clips help. That does not mean every clip should use the full minute. Most short-form clips work better when the setup is short, the payoff is easy to follow, and the ending does not drag.
| Clip Type | What To Keep | What To Cut |
|---|---|---|
| Clutch or ace | The pressure moment, key comm, first pick, final kill, and reaction | Full rotate, weapon buying, scoreboard checking, and long silence |
| Funny fail | The expectation, mistake, immediate reaction, and chat response if visible | Long explanation before the fail or repeated replay of the same gag |
| Tutorial moment | The problem, one clear tip, and the result in-game | Extra theory, unrelated match context, and menu wandering |
| Community moment | The inside joke with enough setup for new viewers | Private jokes that make no sense without chat history |
- Can a new viewer understand the clip without watching the VOD?
- Does something happen in the first two seconds?
- Is the best moment placed before the viewer has time to swipe?
- Are subtitles readable without blocking gameplay UI?
- Does the clip show your voice, decision-making, or personality?
- Would you still post it if it got more reach than the original stream?
- Is there any copyrighted music, private voice chat, or sponsor conflict to remove?
Export Guidance for TikTok, Shorts, and Reels
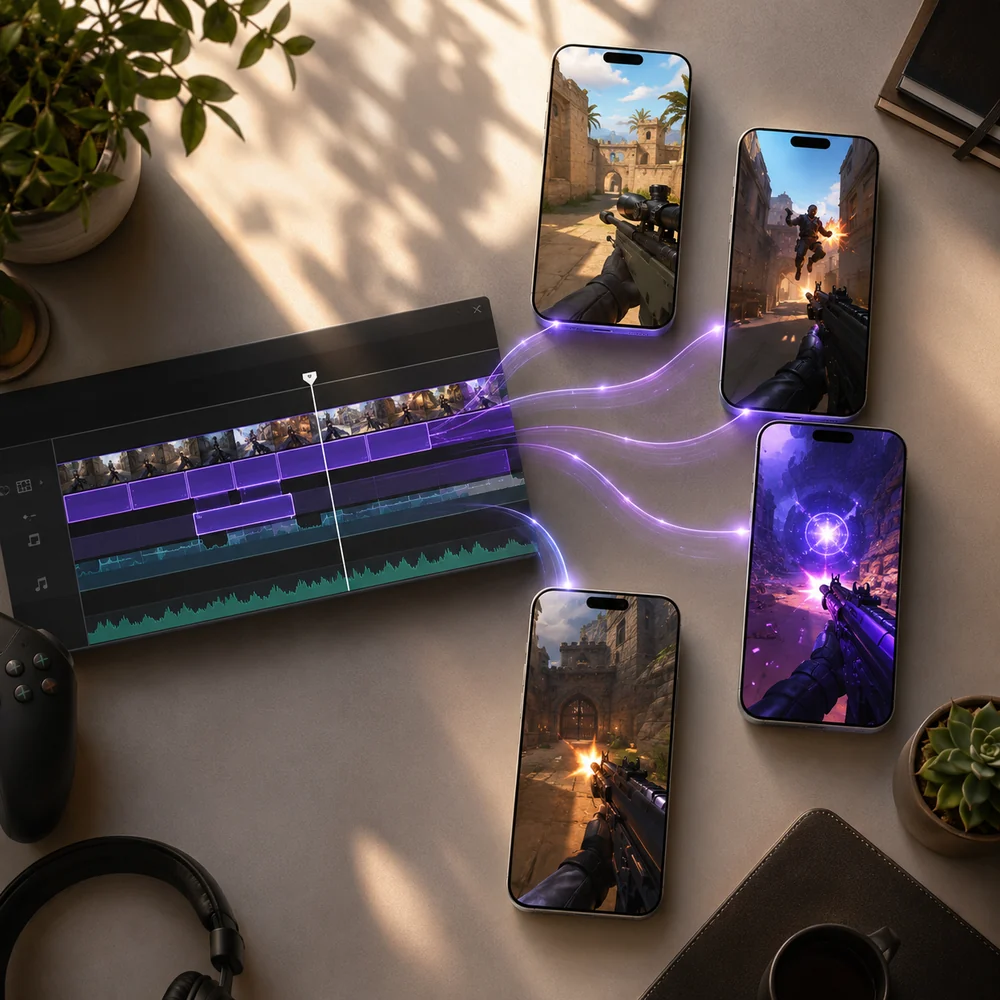
For Twitch clips for TikTok and Shorts, start with a 9:16 vertical master export, then make small changes for each platform. YouTube's current Shorts upload help says Shorts can be square or vertical and up to 3 minutes, so check YouTube's official Shorts upload guidance before you assume every short still needs to fit the older 60-second limit.
| Destination | Recommended Export | Editing Note |
|---|---|---|
| TikTok | 9:16 vertical MP4 with strong first frame | Keep the setup tight and avoid tiny UI text that disappears on mobile. |
| YouTube Shorts | Square or vertical MP4, with length checked against current YouTube guidance | Use a clear title and consider a related video if the clip connects to a longer upload. |
| Instagram Reels | 9:16 vertical MP4 with safe-space captions | Keep captions away from the lower UI area and make the opening frame readable. |
| Discord or community recap | Horizontal or vertical, depending on how your community watches | You can keep more context here because the audience already knows the stream. |
Common Mistakes to Avoid
- Starting the clip too early. A viewer does not need 18 seconds of looting before the clutch.
- Posting only the final kill. A clean headshot can be boring without the pressure that made it hard.
- Letting captions cover the game. Put captions around the action, not on top of crosshairs, health bars, minimaps, or enemy models.
- Treating AI scores as final decisions. AI can surface likely highlights, but you know which moments fit your channel.
- Exporting one version for every platform without checking the crop. TikTok buttons, Shorts UI, and Reels overlays can hide important details.
- Ignoring audio. A great play with muddy comms, blown-out mic peaks, or copyrighted music may underperform or create avoidable risk.
- Waiting too long. If your VOD expires, the best clip is gone unless you saved the source elsewhere.
Expected Outcome
A practical post-stream workflow should turn one VOD into a small batch of clips you can review without burning the whole day. For most streamers, one strong stream can produce three to eight usable posts, depending on game pace and how much chat context matters.
- A shortlist of candidate moments ranked by payoff, not just by noise or chat volume.
- Two or three polished vertical clips ready for public platforms.
- A few lower-stakes community clips for Discord, YouTube Community posts, or stream recaps.
- A clearer feedback loop for future streams, because you will learn what creates clips before you go live.
Troubleshooting Your Twitch VOD Clipping Workflow
| Problem | Likely Cause | Fix |
|---|---|---|
| The VOD is missing | Past broadcast storage was off, the VOD expired, or the stream category was excluded | Turn on VOD storage before the next stream and download important broadcasts before they expire. |
| AI finds too many weak moments | The stream has long stretches of similar action or noisy chat | Lower the shortlist size and add manual markers during future streams. |
| The clip feels confusing | The setup was cut too aggressively | Add one or two seconds before the decision, callout, or mistake that caused the payoff. |
| The vertical crop hides gameplay | Facecam, captions, or UI were placed over the key action | Rebuild the layout around crosshair, health, minimap, kill feed, and enemy position. |
| The clip is funny to your chat but flat elsewhere | It depends on stream history or an inside joke | Add brief setup text or save it for Discord instead of public discovery feeds. |
| The export looks soft | The VOD source was low bitrate or the vertical crop enlarged a small area | Record locally when possible and keep important gameplay inside the highest-quality part of the frame. |
Where FragCut Fits in the Workflow
FragCut helps when the slow part is finding moments, not when you want to hand-edit every frame from scratch. Use it to shorten the first pass, then review the best candidates yourself. If you are still comparing recording, clipping, and editing tools, read our guide to the best clipping software for gaming before you change your whole workflow.
Related guide: AI Clip Maker for Twitch Streamers: What Actually Matters is the next step if you want to connect this workflow to a more specific FragCut clipping setup.
Related guide: How to Clip Fortnite on PC Without Slowing Down Your Game is the next step if you want to connect this workflow to a more specific FragCut clipping setup.
FAQ
Can I turn old Twitch VODs into clips after they expire?
Usually no. If the VOD is gone from Twitch and you did not download it, highlight it, or record locally, treat it as unrecoverable. Build your clipping routine around the VOD retention window shown in Video Producer.
Should every Twitch clip be 60 seconds?
No. Use 60 seconds only when the setup truly needs that much room. Many gaming clips work better at 15 to 35 seconds because the viewer reaches the payoff faster.
What is the best format for Twitch clips for TikTok?
Use a 9:16 vertical MP4, keep the first frame readable, and place captions away from important gameplay UI. Watch the export on your phone before posting, since desktop previews can hide mobile crop problems.
Can AI pick Twitch clips without human review?
AI can create a useful shortlist, but you should still review the final clips. It may miss community context, private comms, copyrighted music, or jokes that only work for regular viewers.
Do I need different exports for TikTok, YouTube Shorts, and Reels?
You can start from one vertical master, but check each platform's crop, caption placement, and current length rules. Small changes can help the same moment work better in each feed.